The joy of a freshly blended smoothie, soup, or sauce often comes with the dread of cleaning the blender afterward. Those sharp blades and deep crevices can make scrubbing a daunting task, causing many to shy away from using their blender as often as they’d like. But what if there was a method that let your blender clean itself in less time than it takes to pour your drink? This guide reveals the secret to a sparkling clean blender in just 30 seconds, empowering you to blend without the bother.
The 30-Second Blender Self-Clean Method: Your Quick Guide
The self-clean method isn’t just a hack; it’s a fundamental understanding of how your blender’s power can work for you, not against you, in the kitchen. It leverages the very mechanism that blends your food to wash away residue, making cleanup incredibly fast and safe.
Why the Self-Clean Method is a Game-Changer
|
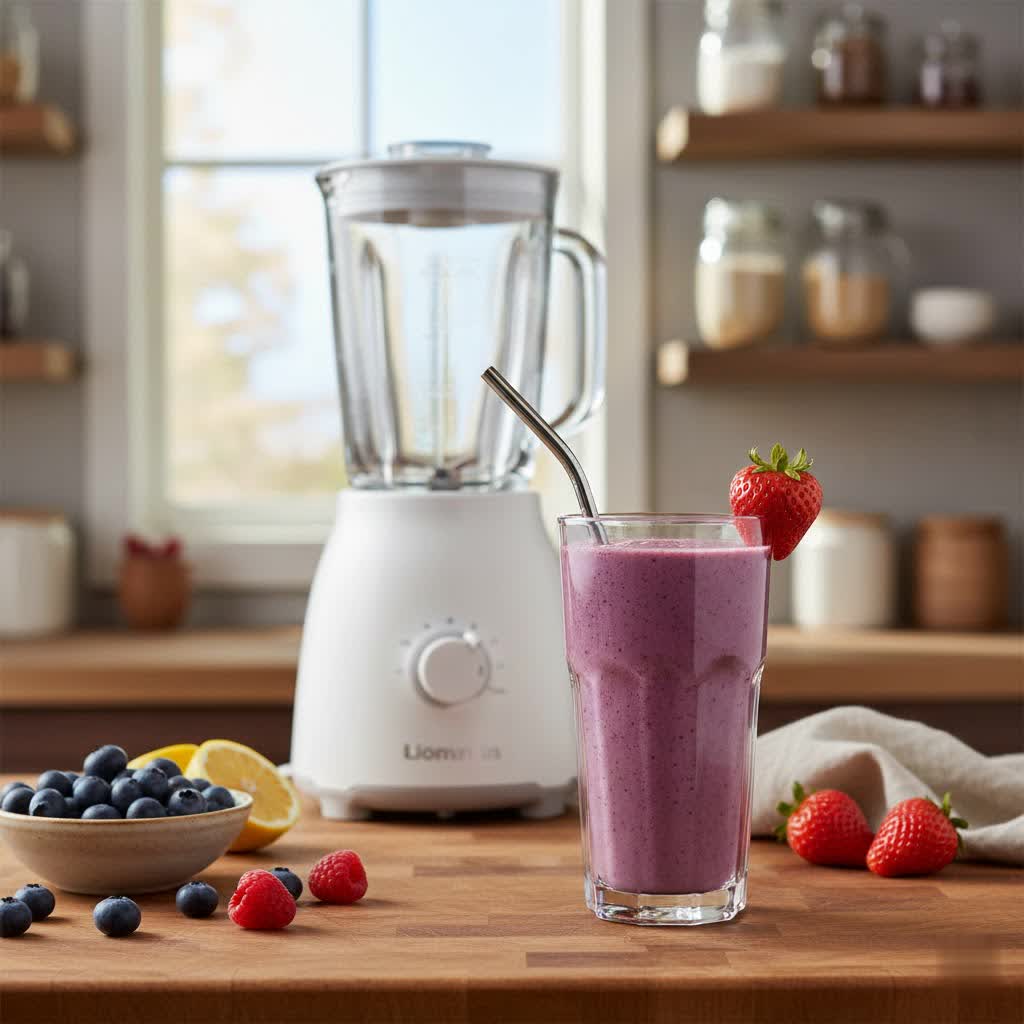
Our Picks for the Best Blender in 2026
As an Amazon Associate I earn from qualifying purchases.
|
||
| Num | Product | Action |
|---|---|---|
| 1 | bella 10 Speed Countertop Blender, Juicer & Smoothie Maker, Fits-anywhere™ Kitchenware, Slim Flip & Store Design, Dishwasher Safe 48oz Capacity Pitcher & Lid, Stainless Steel Blade, 450 Watt, Oatmilk |

|
| 2 | Ninja Professional Plus Blender | Max Power Smoothie Blender, Ice Cream Maker, Frozen Drink Mixer & Margarita Machine | 3 Auto IQ™ Presets, 1400 W, 72oz Total Crushing Pitcher | Dark Grey, BN701 |
|
| 3 | Ninja UltraCrush Professional Blender | 1000W, XL 72-oz.* Pitcher | Total Crushing Technology | 3 Manual Speeds for Ice Crushing, Smoothies, Sauces & More | Full-Size Blender | Black | BP201 |
|
| 4 | Magic Bullet Blender, Small, Silver, 11 Piece Set |
|
| 5 | BLACK+DECKER Crush Master Blender, 10-Speeds with Stainless Steel Blades, Black, BL2010BP |
|
| 6 | Ninja Professional Blender, Smoothie Blender, Drink Mixer, Grinder, Ice Crusher, Frozen Fruit Blending | Professional 1000 W Power, Total Crushing ™ Technology, XL 72-oz. Pitcher Black, Grey, BL610 |
|
| 7 | BLACK+DECKER PowerCrush Multi-Function Blender with 6-Cup Glass Jar, 4 Speed Settings, Silver |
|
| 8 | Aeitto Blenders for Kitchen with 1800W Motor, 68Oz. Large Capacity, 2-in-1 Blender & Grinder Combo, BPA-Free Countertop Professional Blender for Smoothies, Ice Crush, Frozen Drinks, Black |
|
| 9 | Hamilton Beach Power Elite Wave Action Blender For Smoothies, 40 Oz Glass Jar, 12 Functions Including Puree, Crush Ice, 700 Watts - Black (58148A) |
|
| 10 | nutribullet Full-Size Blender Combo 1200W – NBF50500 - Dark Gray |
|
Forget struggling with sponges and brushes around razor-sharp blades. The self-clean method offers a hands-free, efficient, and safe way to maintain your blender’s hygiene immediately after use. It prevents food particles from drying and hardening, which are the main culprits behind stubborn stains and odors. By turning your blender into its own washing machine, you save time, effort, and keep your hands away from potential cuts, making blending a truly enjoyable experience from start to finish.
Step-by-Step: How to Self-Clean Your Blender in Seconds
Achieving a clean blender in 30 seconds is remarkably simple and requires only three basic items: your dirty blender, warm water, and a drop of dish soap.
- Rinse Immediately: As soon as you’ve poured out your blended creation, give the blender jar a quick rinse to remove any large chunks or fresh residue. This initial step is crucial for preventing anything from sticking.
- Add Water and Soap: Fill the blender pitcher about halfway with warm or hot water. The heat helps to dissolve fats and loosen stuck-on bits. Then, add just a drop or two of liquid dish soap. You don’t need much; too much soap can create excessive suds and a bigger mess.
- Secure and Blend: Place the lid securely on the blender jar and attach the jar to its base. Run the blender on a medium to high setting for approximately 10 to 30 seconds. Watch as the soapy water swirls, scrubbing every internal surface, including the blades, and breaking down any remaining food particles.
- Rinse and Dry: Once the blending cycle is complete, pour out the soapy water. Rinse the jar thoroughly with clean, warm water until all soap residue is gone. Finally, invert the jar on a drying rack or wipe it dry to prevent water spots and ensure aeration.
Essential Tips for Optimal Quick Cleaning
While the self-clean method is straightforward, a few key practices can maximize its effectiveness and keep your blender in prime condition.
- Act Promptly: The golden rule of easy blender cleaning is to clean it immediately after use. Fresh residue is much easier to remove than dried-on gunk.
- Use Warm or Hot Water: Hot water, especially, helps to cut through oils and break down sticky substances more effectively than cold water.
- Secure the Lid: Always ensure the lid is tightly sealed to prevent soapy water from splashing out during the cleaning cycle. Some blenders, particularly high-powered models, may require you to hold down the lid for added security.
- Consider a Pre-Rinse: For very thick mixtures like nut butters or heavy sauces, a quick rinse before the soapy water blend can make a significant difference.
Beyond the Basics: Tackling Tough Blender Messes
While the 30-second self-clean is perfect for daily maintenance, sometimes your blender might face tougher challenges – stubborn stains, lingering odors, or that cloudy film that can develop over time.
For Stubborn Stains and Odors
If your blender jar has developed an unwanted tint or a persistent smell, it’s time to bring in some extra cleaning power.
- Vinegar Power: For mineral buildup, cloudiness, or general discoloration, blend a mixture of 1 part white vinegar to 3 parts water. Run this solution for 30-60 seconds, then let it soak for a few minutes before rinsing. Vinegar is excellent for dissolving hard water stains and neutralizing odors.
- Baking Soda Boost: For tough stains or strong odors, a paste of baking soda and a little water can be gently scrubbed onto affected areas (away from the blades) before performing the self-clean method. Alternatively, adding a tablespoon of baking soda to your soapy water blend can enhance its deodorizing power.
- Lemon Freshness: A few lemon slices (or a tablespoon of lemon juice) added to your warm, soapy water blend can help brighten the jar and leave a fresh scent, especially useful after blending pungent ingredients like garlic or onion.
When to Deep Clean Your Blender
The 30-second method handles the inside, but occasional deep cleaning is essential, especially for blenders with removable parts. This involves disassembling the jar from the blade assembly and checking seals and gaskets. If you notice persistent residue under the blades, a dull appearance, or if your blender is dishwasher safe, consider a full deep clean every few weeks or months, depending on usage.
Cleaning Specific Blender Parts
While the jar self-cleans, other components require a quick manual wipe.
- The Lid: Blender lids, especially those with pouring spouts or detachable caps, can trap food particles. Wash them manually with warm, soapy water and a small brush to get into crevices. Ensure they are thoroughly dried to prevent mold.
- The Blade Assembly and Gasket: If your blender allows for safe disassembly, carefully remove the blade assembly and gasket. Hand wash these parts with dish soap and warm water, using a brush if necessary. Pay close attention to the rubber gasket, as it can hide food residue.
- The Base Unit: The electrical base should never be submerged in water. Wipe it down with a damp cloth to remove any drips or splashes, ensuring it’s unplugged before cleaning. Use a dry cloth to buff it clean.
Maintain Your Blender’s Brilliance
Consistent care not only keeps your blender looking good but also extends its lifespan and ensures optimal performance.
Common Blender Cleaning Mistakes to Avoid
Many common errors can hinder effective cleaning or even damage your appliance.
- Delaying Cleanup: Waiting too long allows food to dry and harden, making the 30-second method far less effective and often requiring manual scrubbing.
- Using Abrasive Scrubbers: Harsh sponges or steel wool can scratch plastic or glass jars, creating microscopic grooves where bacteria can hide.
- Submerging the Base: The motor base is an electrical component and should never be submerged in water.
- Ignoring the Gasket: The rubber gasket under the blade assembly is a prime spot for mold and bacteria if not regularly cleaned.
- Overfilling with Soap: Too much soap can lead to excessive suds that are hard to rinse, leaving a soapy film.
Best Practices for Everyday Blender Care
Incorporating these habits into your routine will make blender maintenance almost effortless.
- Always clean immediately after use with the self-clean method.
- Disassemble and hand wash the lid and gasket regularly.
- Wipe the motor base with a damp cloth as needed, always unplugged.
- Ensure all parts are completely dry before reassembling or storing to prevent mildew and odors.
- For persistent issues like cloudiness, use the vinegar or baking soda treatments.
> “A clean blender isn’t just about aesthetics; it’s about food safety and preserving the integrity of your ingredients. The self-clean method is a fundamental step towards a healthier, happier kitchen.” – Chef Elena Rodriguez, Culinary Technology Expert
Conclusion
The thought of cleaning your blender no longer needs to be a deterrent to healthy eating or creative cooking. By embracing the simple, yet incredibly effective, 30-second self-clean method, you can keep your blender pristine with minimal effort. This quick routine, coupled with occasional deeper cleaning and mindful usage, ensures your blending companion remains ready for action, free from grime and odors. So, blend away without a second thought, knowing a spotless cleanup is just a quick cycle away. What delicious creation will you whip up next, now that blender cleaning is a breeze?
Frequently Asked Questions
Can the 30-second self-clean method work for all blenders?
Yes, this quick self-clean method is highly effective for most standard blenders, including personal blenders and high-performance models. It utilizes the blender’s own motor and blades to agitate soapy water, effectively cleaning the jar.
What if my blender has a specific “self-clean” button?
Many modern blenders, especially high-end models, feature a dedicated “clean” or “self-clean” program. If your blender has this, simply follow the manufacturer’s instructions, which typically involve adding water and a drop of soap, then pressing the button. These programs are often optimized for the best results.
How do I clean my blender if I’ve blended oily ingredients like nuts or pesto?
For oily residues, using warm or hot water is crucial as it helps break down fats. You might also add a slightly larger drop of dish soap or include a tablespoon of white vinegar or lemon juice in your self-clean cycle for extra degreasing power. A second self-clean cycle might also be beneficial.
Can I put my blender jar in the dishwasher?
Always check your blender’s manual. While some blender jars are top-rack dishwasher safe, others are not. Dishwashers can sometimes be too harsh for certain plastics or may not effectively clean under the blade assembly, making the self-clean method or handwashing a better option.
How often should I deep clean my blender?
For regular users, a deep clean beyond the daily self-clean is recommended every few weeks to a month. This involves disassembling the blade assembly and gasket for a thorough scrub, ensuring no hidden gunk accumulates. For occasional users, deep cleaning can be less frequent.
My blender jar is cloudy. How can I fix this?
Cloudiness is often due to mineral buildup from hard water. To address this, fill your blender halfway with a solution of 1 part white vinegar to 3 parts water. Run the blender for 30-60 seconds, then let it soak for a few minutes before rinsing thoroughly. This acid solution helps dissolve the mineral deposits.